
This tutorial was originally written as a guest blog for Emmaline Bags. You can view the original guest blog here: http://emmalinebags.blogspot.com/2015/03/poppet-purses-free-tutorial-by-mrs-h.html
Hi everyone,
I'm Samantha, aka Mrs H, from Sewing Patterns by Mrs H.
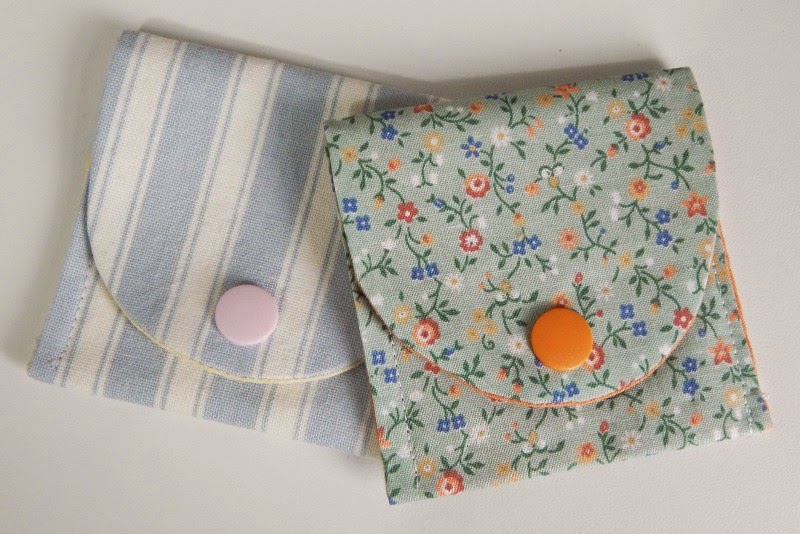
I've got a great tutorial for you today to make these cute little poppet purses. They're really simple to make, and great for using up scraps! I've got one in the car with parking change, I've given them to all of my friends kids and they'll make ideal Easter gifts with a coin or two inside!

Material requirements
You will need two 4" x 11" fabric, one outer and one lining. You'll also need 4” x 11” of medium interfacing or similar stabiliser.
You will also need one snap; I use KAM snaps.
Cutting out
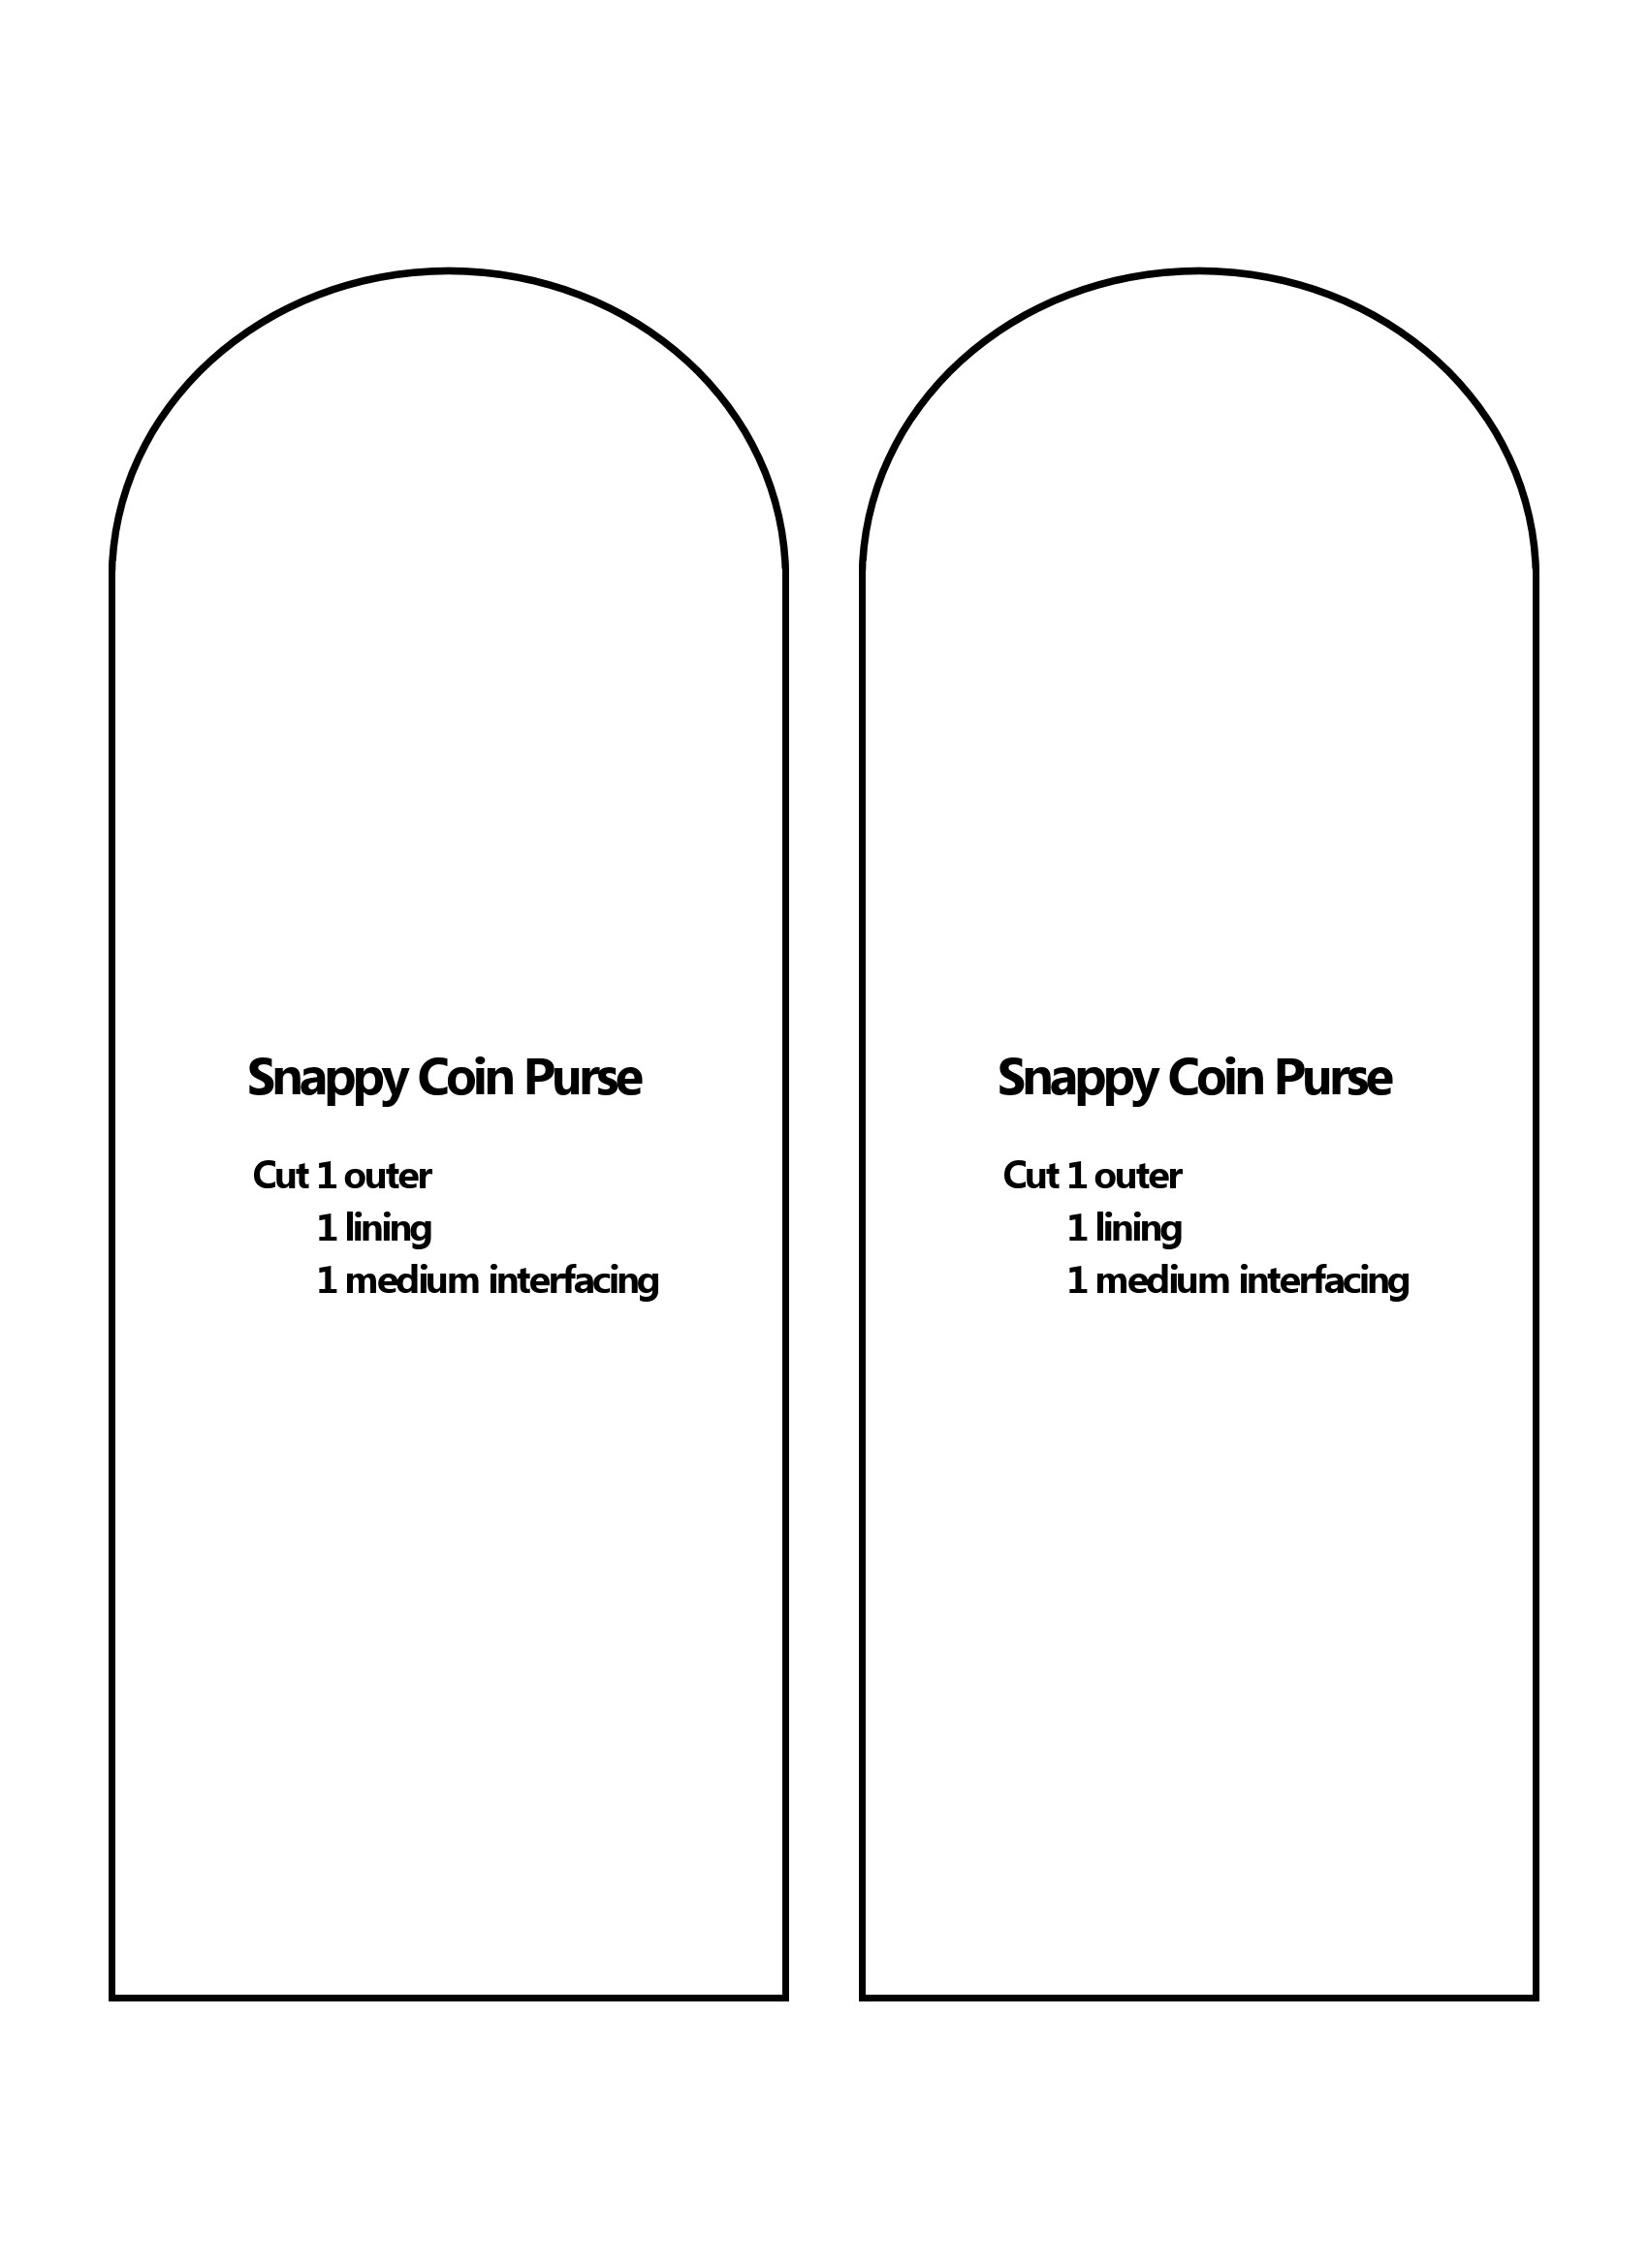
Poppet purse template: Cut 1 outer, 1 lining, and one medium interfacing
Seam allowance is 3/8” (1cm) unless otherwise stated.
Secure every row of stitching with a backstitch or two as you go.
(Editor's note: Please note that this template was created in 2016. Mrs H put two pattern pieces on the image so that you could use one for the outer and one for the lining. You may prefer to use just one of the pattern pieces for each piece of cutting out.)
Construction
1) Fuse interfacing to the wrong side of the purse outer.
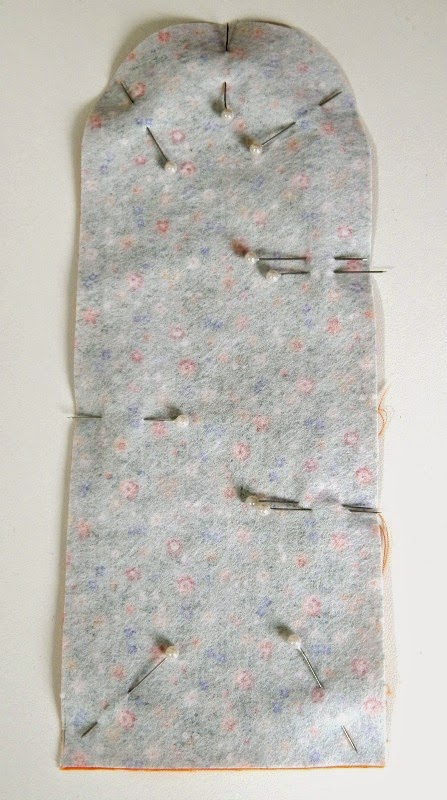
2) Pin the purse outer and purse lining together, right sides facing. Mark a gap in the side around 2” (5cm) with pins.
I have marked mine with double pins at the start and end of the turning gap.
3) Stitch around the edge of the purse, starting and stopping where you've marked your turning gap.
Make sure to secure your stitching with a backstitch.
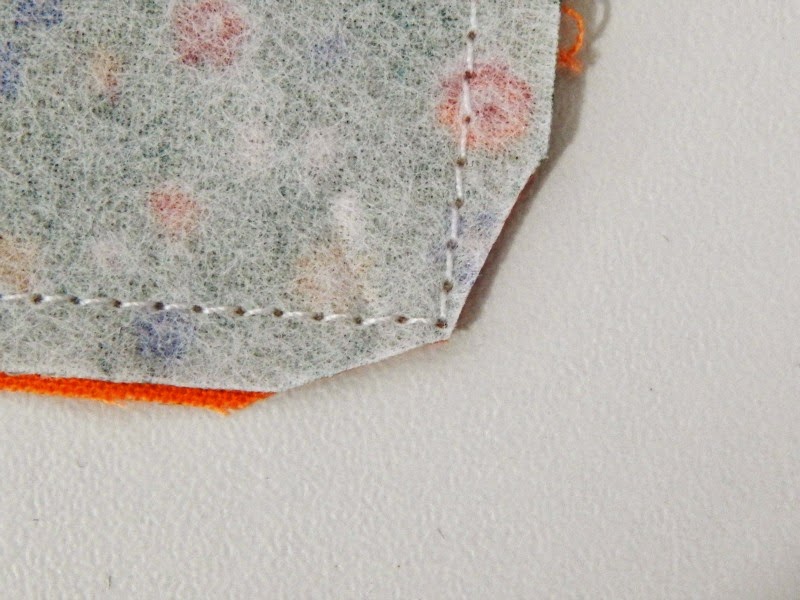
4) Clip your bottom two corners straight across without catching your stitching. Then snip an extra small part of the seam allowance away to form the pointed shape shown in the photo.
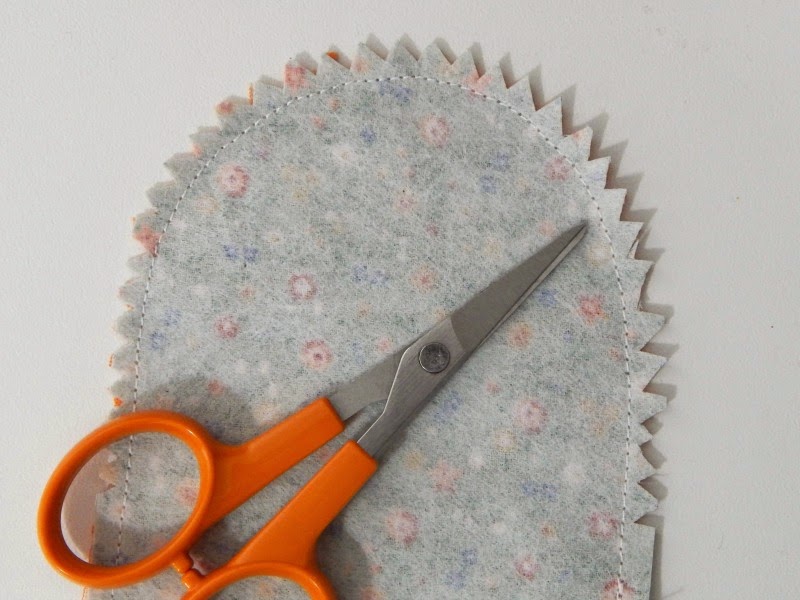
5) Notch the curve using some small, sharp scissors. Make sure you don't snip through your stitching.
6) Turn your layers through the turning gap, so that they are right sides out.
Use a blunt chopstick to poke the corners out, and then run it around the inside of the curve, to smooth out the seam.
7) Press the purse, and then tuck the seam allowance of the turning gap under, and press into place.
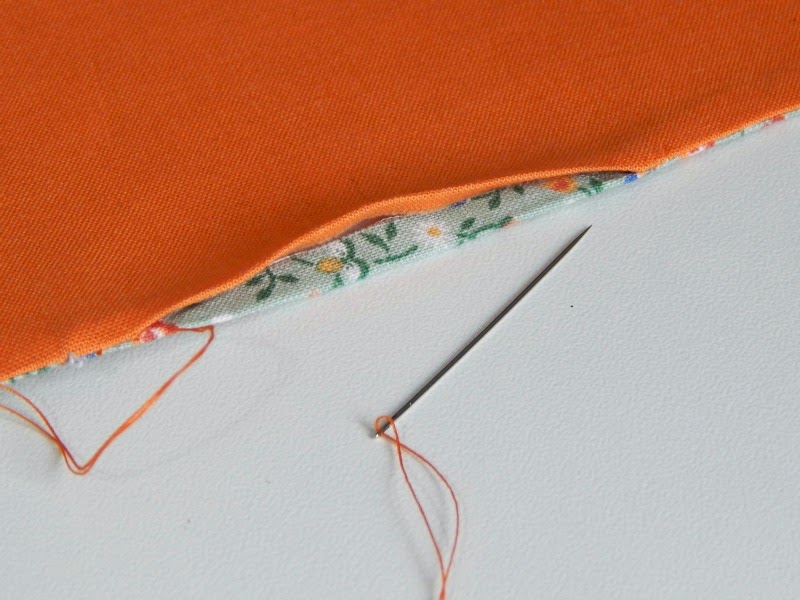
8) Stitch the turning gap closed with as small and neat a stitch as possible. I like to use a ladder stitch.
You can skip this step, but it makes a nicely finished item to hand stitch the gap closed before moving on.
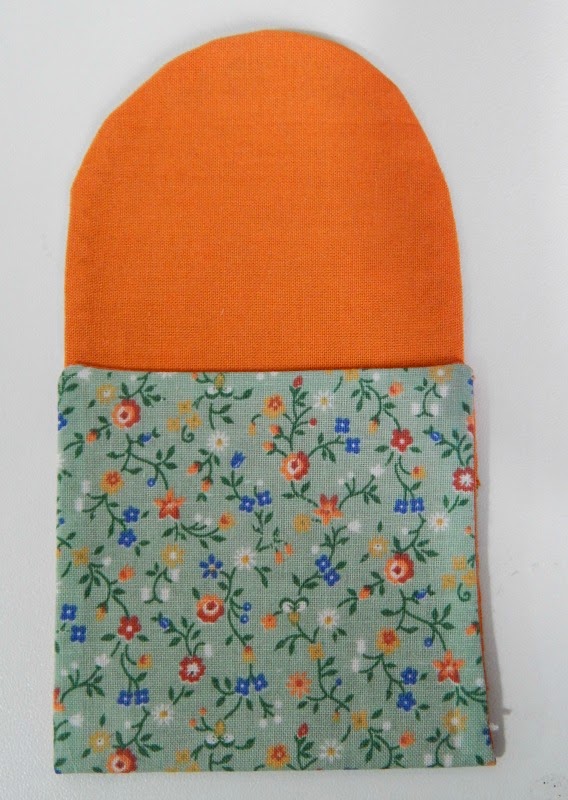
9) Fold the bottom edge up 5 ¾” (14.5cm) and press into place. This will now be known as the purse front.
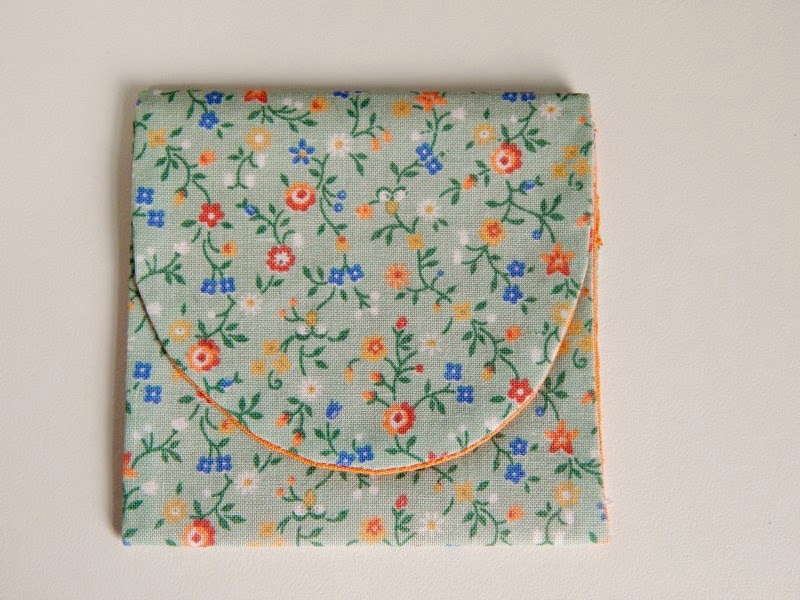
10) Fold the curved flap down so that the purse is in thirds. Press into place. This will be called the flap.
11) Using a removable fabric marker, make a dot ½” (1.25cm) from the curve, and centred on the flap.
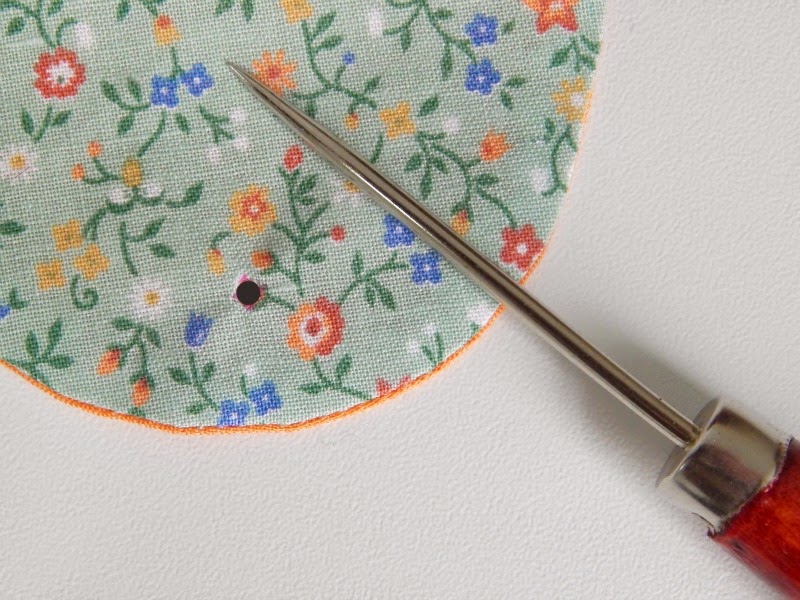
12) Use either an awl, or another sharp object to push a hole through the dot, just on the flap.
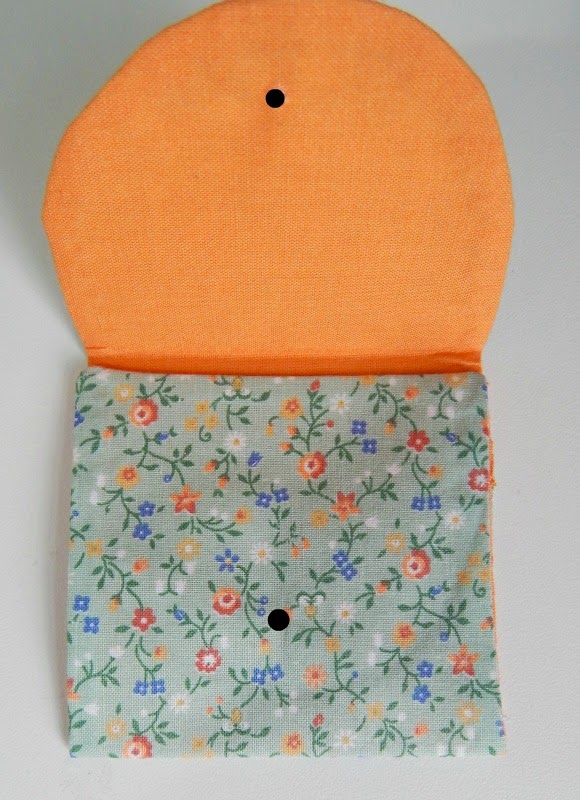
13) Poke your fabric marker through the hole on the flap, to make a dot on the purse front beneath. This should be 1” (2.5cm) from the bottom fold, and centred.
14) Unfold your purse to make sure you don't go through the layers underneath and then using your awl, or sharp object, make a hole in the purse front.
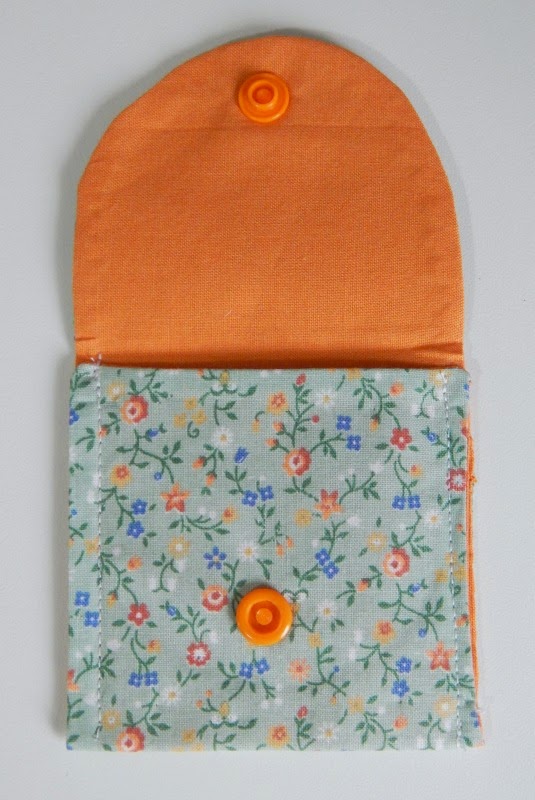
15) Insert a snap prong through the hole on the flap, and then add the male part. Fasten it using your pliers, or snap setter. The 'nice' side of your snap should be on your outer fabric side.
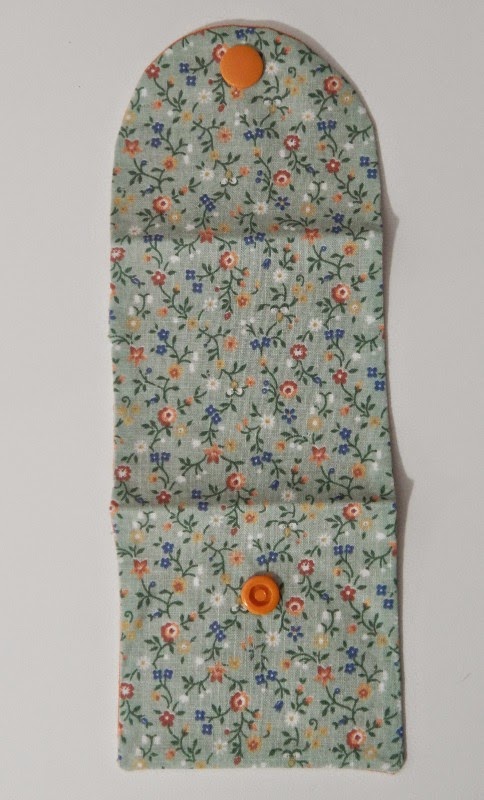
16) Insert a snap prong through the hole on the purse front, and then add the female part. The female part should be on your outer fabric side. Fasten it using your pliers or your snap setter.
The photo above may help. If in doubt, fold the purse up and this should help you work out which side of the snap goes where.
17) Fold your purse up and pin the sides.
Stitch along the sides, 1/8” (3mm) from the edge if you did not close your turning gap by hand, or ¼” (6mm) from the edge if you already stitched the gap closed.
If you are confident at sewing around curves, you may wish to top stitch around your flap at this time.
All that's left now is to find something to put in your purse and then snap it closed!
Thank you so much Janelle for letting me guest-post.
If you make anything from one of my patterns or tutorials, I'd love to see them!
