Hello lovelies!
I've finally gotten around to doing something with my spare Window Shopper Tote pocket!

I wrote a little tutorial for the Bag of the Month club facebook group about adding a flap to the front pocket of the Window Shopper Tote, you can find it here.
So with that pocket, I decided to show you how you can make your own big pocket tote!

I used faux suede headliner in black, Pat Bravo 'Rapture' cotton, 'natural' cotton webbing (1.5"), some medium weight interfacing for the lining pieces, one 7" zip, one magnetic snap, plus one set of adjustable strap hardware (rectangular ring and a triglide).

I cut the following from each in addition to my Window Shopper Tote pocket.
From the faux suede headliner:
Two pieces 16"W x 15"H
From the cotton lining with medium weight interfacing to match:
Two pieces 16"W x 15"H
Two pieces 12" W x 14" H for a slip pocket and zip pocket
I cut my webbing strap into 52" and 4" lengths.
Today's post will draw on some of my previously published tutorials, so apologies for the hopping around a bit!
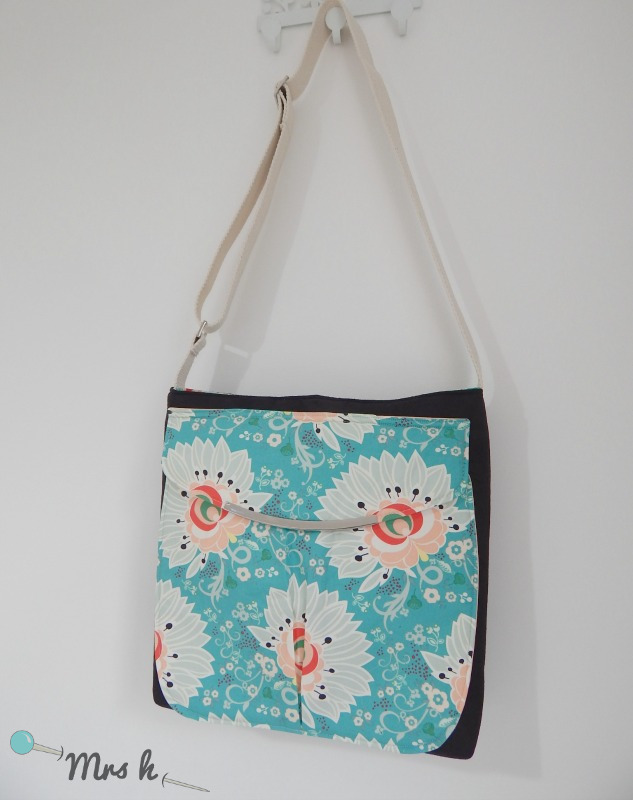
Let's start by placing the front pocket from the Window Shopper Tote on one of the Faux Suede headliner panels, side centred, 1.75" from the bottom. I love faux suede headliner because you don't need to add any stabiliser, it's super quick and lazy!

Stitch around the sides and bottom of the pocket, 1/8" from the edge and secure at the top edges with some back stitches.
Next, fasten the magnetic snap, and line up the flap as best you can. Stitch across the top of the flap with a 1/8" seam backstitching at each end.

Lay the faux suede pieces right sides together and stitch around the sides and bottom using a 3/8" seam allowance.

Now 'box' the corners by matching the side and bottom seam to form a point in the bottom corners. Pop a pin through the seams to hold it aligned. Draw a line 3" long from one side to the other of the point. Apologies for my green pen not being too clear!

Sew across the 3" line (backstitch at the start and end), then trim the bulk from the boxed corner. Repeat for the other corner.
Now it's time for the lining!
Lay one of the pocket pieces 12"w x 14"h on top of one of the lining pieces (16"w x 15"h - Make sure you have it the right way round!) with the pocket piece 5" from the bottom of the lining piece. You'll insert a zipped pocket into this pocket piece with the box 5.5" from the bottom of the pocket piece. For full zipped pocket instructions, please see this post. For a really easy turn through at the end, leave the bottom of the zipped pocket unsewn to turn the bag through later.

Fold the second pocket piece in half to form a rectangle 12" x 7" and stitch from the sides to the base. I like to baste across the bottom (between the orange and yellow pins) to get a lovely neat turning gap later. Trim the corners both top and bottom, steam the basting stitches, then turn through.

Press the slip pocket neatly, then top stitch along the top edge 1/8" from the edge. Place the slip pocket on the lining panel 1.75" from the bottom, side centred. Stitch along the sides and bottom to hold it in place. I also stitched up the middle to divide it in two.


Place the washer for the magnetic snap 1" from the top of the lining panels and mark the prong position. For full magnetic snap instructions, please see this post.

With the lengths of webbing for the strap, I used cotton, so fray checked along all of the cut edges. With poly webbing you can melt the ends to stop them unravelling.

Thread a rectangular ring onto the short piece and stitch a couple of rows to secure it in place.

Thread the long strap piece through the triglide from the back and fold over a couple of inches, then stitch to secure.

With the triglide still facing up, thread the raw end of the long piece of strap through the rectangular ring, also right side up.

Thread the raw edge back through the triglide, over the strap that has already been fastened into place.

Attach the finished strap to the outside of the bag, matching raw edges. I centred mine over the side seams. Baste in the seam allowance to hold it in place for the moment. Make sure the strap isn't twisted!

UNDO THE ZIP ON THE ZIP POCKET!!! (I always forget this)
Pop the bag outer into the bag lining with right sides together. I like to have my outer right sides out and my lining wrong sides out. Align side seams and top edge and stitch around the entire top of the bag.

Turn the bag through the turning gap that you left previously. Either the bottom of the zip pocket or the bottom of the lining depending on where you left it.

Once the bag is the right way round, close the turning gap with a neat close topstitch, or using a hand ladder stitch with the seam allowances tucked inside.

Push the lining into the bag, press the top edge, then topstitch all the way around the top to get a nice neat finish.
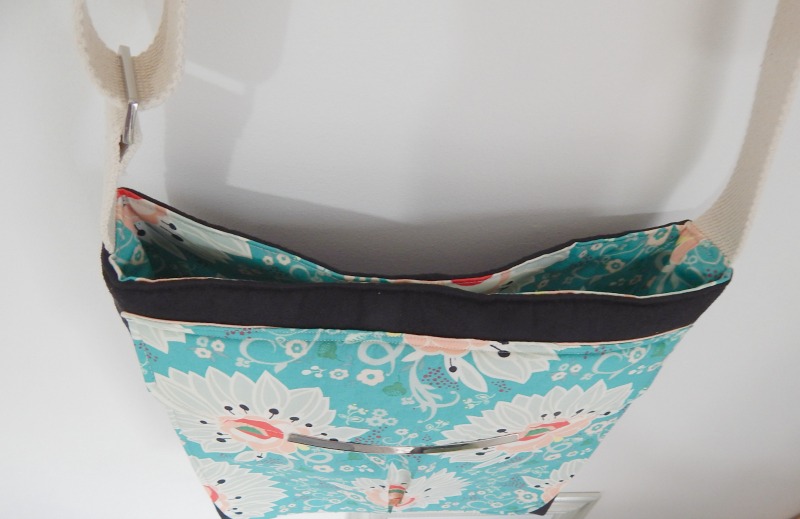
Your bag is done and ready to rock and roll!